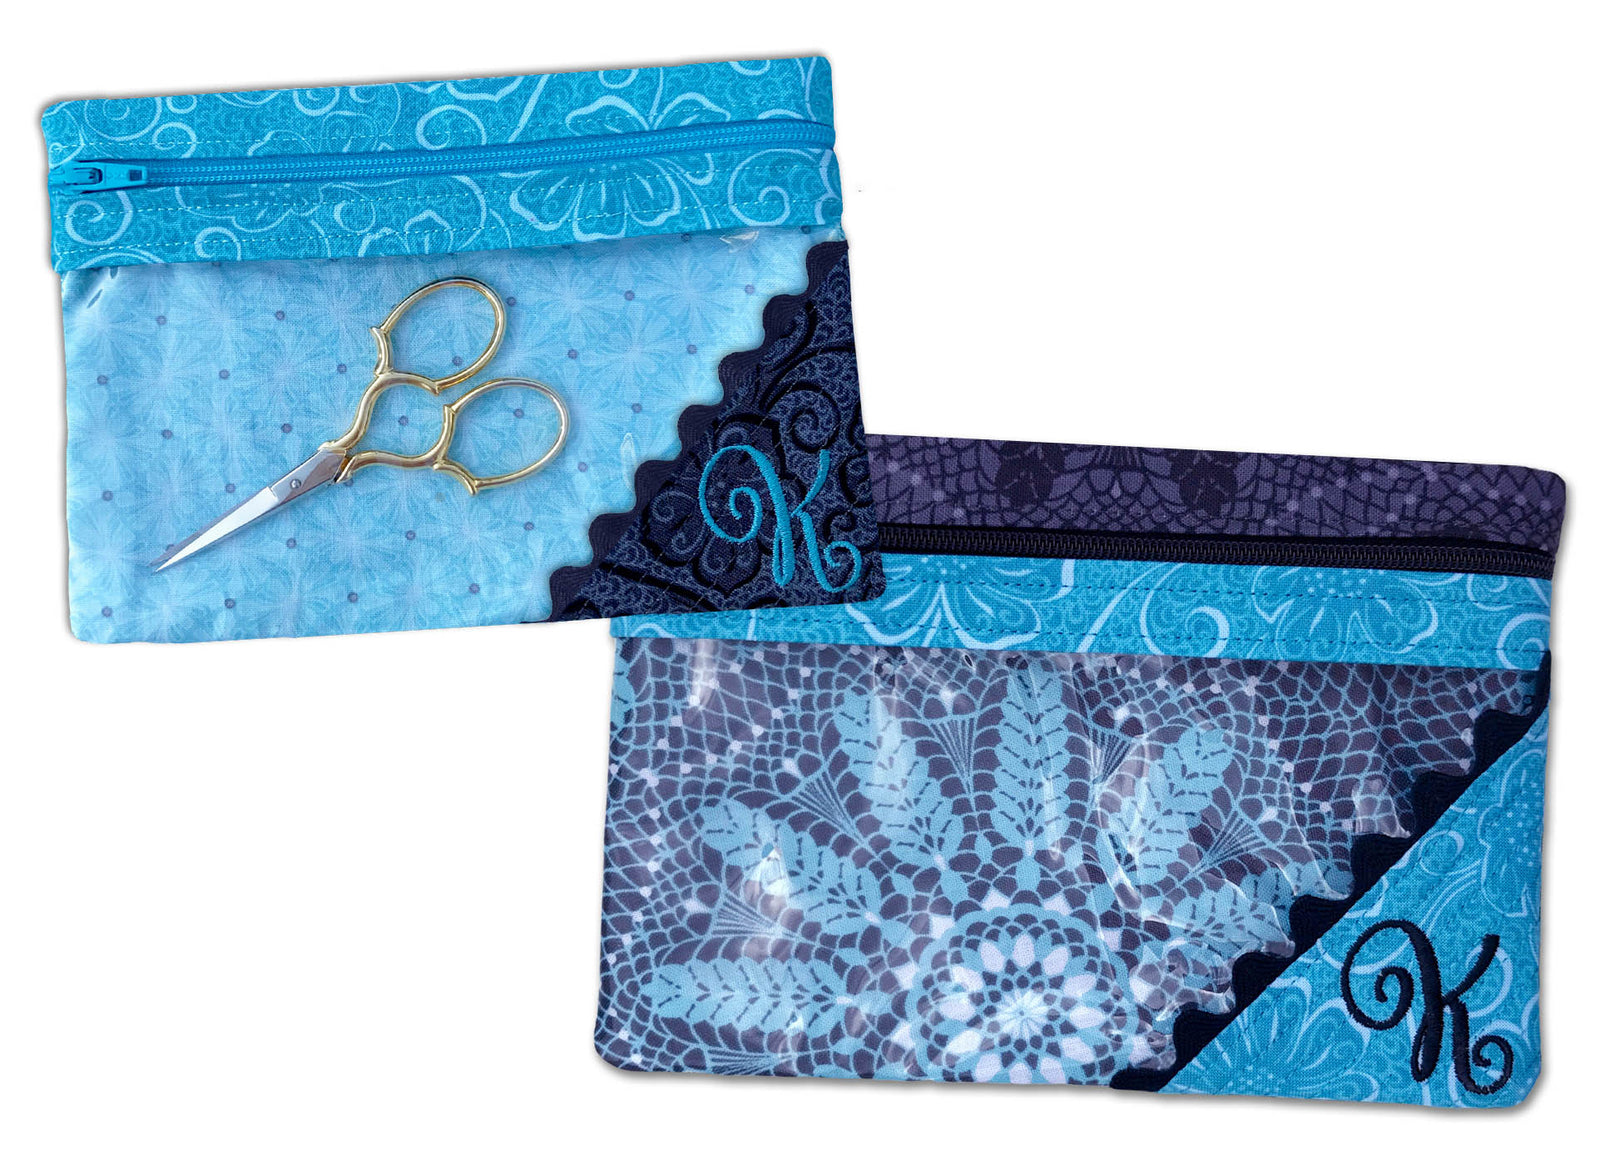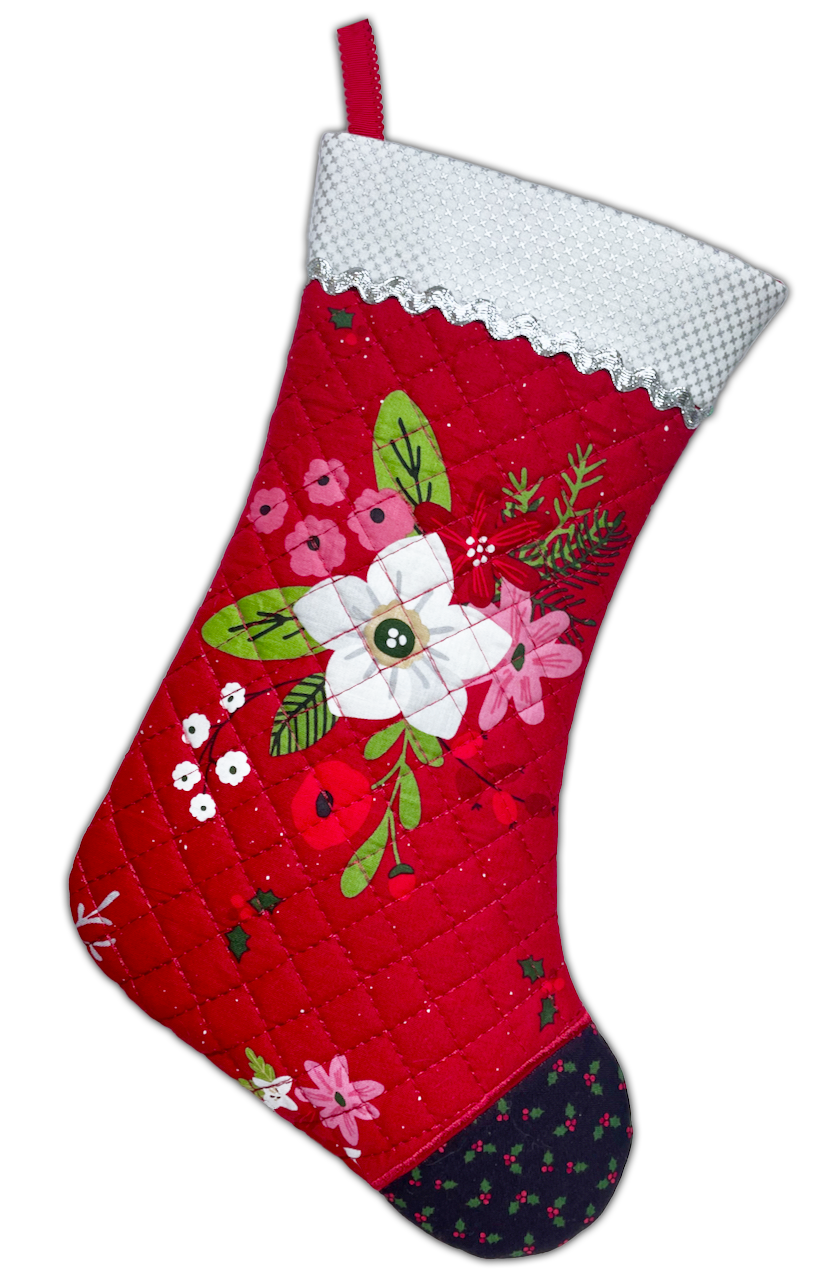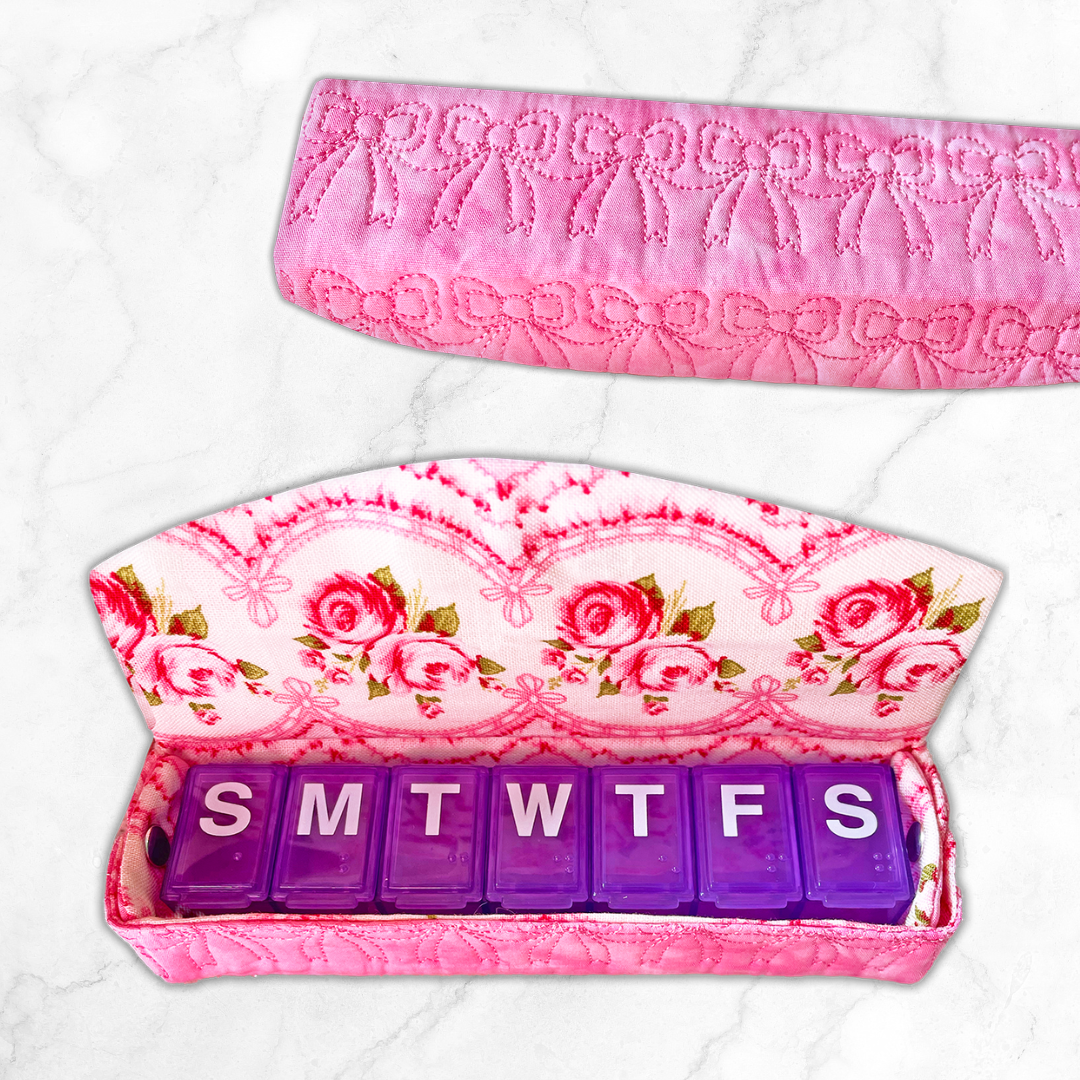
Sewing with clear vinyl can be challenging - from thick seams, to losing the piece you just cut because it's invisible! Here are a few tips from Designer, Lisa Archer, to make this versatile material easy peasy...
Shown: Zip it Up Bags (with Vinyl Fronts!)
Tip 1: Keep the vinyl visible!
When you purchase clear vinyl in a shop, it usually comes with tissue paper behind it, which is there so the rolled vinyl won't stick to itself (think Saran Wrap). I like to give this tissue paper a dual purpose! When I cut the vinyl for a project, I also cut the tissue paper and leave them together as a unit. That way I can see the vinyl and it doesn't get lost on my cutting table. I also add a Wonder Clip (or binder clip) to secure them together. Try it - you may never have to search your sewing room for that pesky vinyl that got away!
Tip 2: Use the correct gauge of vinyl for your project
When purchasing clear vinyl, you may see a variety of gauges. Gauge (which rhymes with page) is just a fancy word for thickness. The higher the number, the thicker the vinyl.
The in-the-hoop machine embroidery projects I design for Pickle Pie all use 12 gauge since it is a strong enough thickness to stitch on, yet thin enough to allow you to turn your project right side out without too much trouble.
Read over the supply list included in any vinyl project you're making and use the recommended gauge. If you use a vinyl that's too thin, your machine needle could perforate it. If you use a vinyl that's too thick, you can have seams that don't lie flat.
Tip 3: Before turning/finishing a project with clear vinyl, place a pressing cloth over your project, then press briefly (1-2 seconds) with a warm iron. This will soften the vinyl and make it pliable so you can turn the project right side out - easy peasy!
Tip 4: Tape the vinyl outside of your project outlines. Always put tape on edges of the vinyl that won't show in your final project. The tape's adhesive can stick to vinyl and you don't want to ruin that great project you just stitched!
Pickle Pie offers many projects that utilize clear vinyl and I hope you'll try these tips the next time you stitch!


